While mentioned in the Humanities Data Lab, we haven’t had the opportunity to use Timeline JS in class yet. It is one of my personal favorite tools for humanities assignments having used it both high school and at Carleton. The idea behind Timeline JS is simple – an open-source tool for people with little to no experience in Javascript (or a similar language) to build interactive timelines using Google Sheets as a back-end. The applications of a timeline tool such as this are numerous as not only can a user specify start year, month, date and precise time, they can also append media from outside numerous outside sources (Twitter, Vimeo, YouTube, Flickr etc.) to their timeline slides as well as update said timeline in real time. The main draw of a tool like Timeline is really the accessibility and diverse potential it offers – you could use it in a school project like this or for a promotional article for a business like this one.
So, now that you know how awesome Timeline JS is, how do we make one?
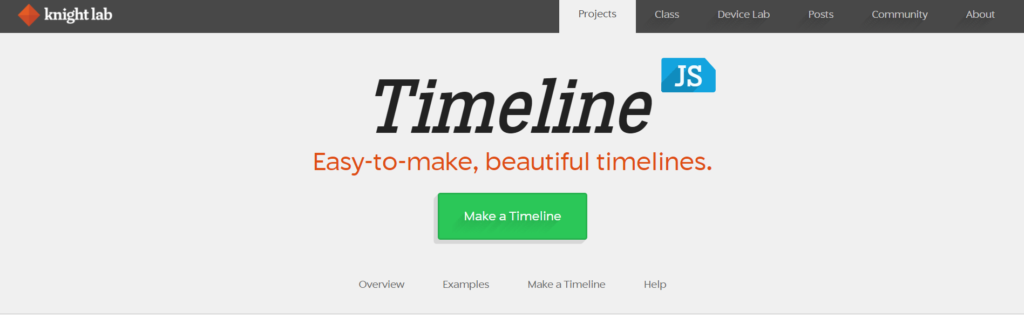
- Go to the Timeline JS website and click the large green “Make Timeline” button as seen below.
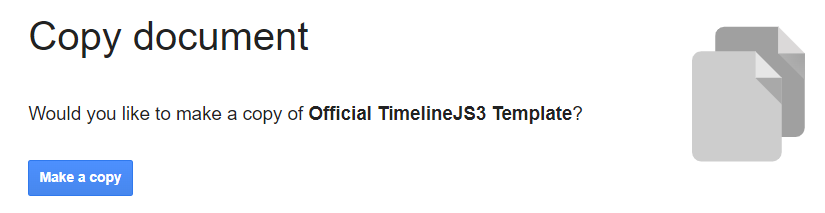
- Click the spreadsheet template button to be taken to a google sheets link to copy the default Timeline JS spreadsheet template into your google drive.

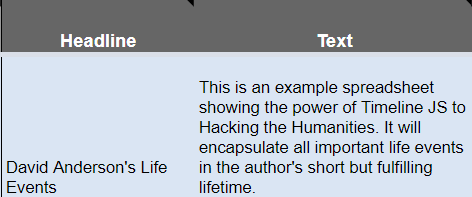
- You should now have a spreadsheet that looks like the image below in your Drive folder. Double check that it is under the correct account information!

- Now, let’s change up the title of our new timeline. The blue highlighted second row will be the first slide viewers will see when they come to the webpage your timeline is hosted on. Currently the title is “Google Spreadsheet Example” with some boring text to go along with it. Choose a new title for your timeline with some explanatory text!
- Now that we have a title, the site is ready to publish… right? Kind of, we are going to publish it now but then go and edit what comes next so you can see how the live updates work.
- To publish the site, first go to the file menu on the google sheets and hover over share, then click publish to web.

- After clicking “Publish to Web” click the green “Publish” button, then “Ok” when prompted.
- Now, go to the top of your web browser and copy the URL for your google sheets document. Return to the Timeline JS site and paste the link that you copied into the 3rd section as seen below.

- DO NOT USE THE LINK THAT “PUBLISH TO WEB” GIVES YOU, USE THE URL AT THE TOP OF THE SCREEN (this tripped me up, it won’t work if you use the publish to web link)
- Finally, you can copy the link that appears in the first box to share your timeline directly with other people, or use the link in the second box to embed an iFrame into a website.

- Take a look at your timeline! Looks great, right? Except for the fact that we have only changed the title and description, all the example stuff is still in there… So, let’s change that! I am going to input the event of my birthday into my timeline!
- Replacing the “Another Flickr Example” row, input the start year, date, time etc. of whatever you want. Then title it, add a description and voila! A new, custom item on your timeline.

- But, we aren’t done quite yet. We need pictures to go along with our events. You can directly link images from Flickr, Imgur etc. or videos from YouTube or Vimeo in the “Media” section but I want to use some images from my own computer. How can that be achieved?
- Open and new tab and navigate to your google drive. Make a folder, it can be titled whatever you want (I chose MEDIA). Then, right click in the folder and select “File Upload”. Choose an image from your computer, and wait for it to be uploaded to drive.

- Now that you have your image in google drive, right click it and select “Share”. Then in the share menu select “Get Link”

- This link will now be copied to your clipboard. Return to the Timeline JS Spreadsheet and paste the image into the media section of your new row and give credit to where the image is from.
- We now have an event with a time, date and media attached.
- Your Timeline should automatically update after a while, but if it is taking too long you can click
File -> Share -> Publish -> Stop Publishing -> Start Publishing
Then recopy the spreadsheet link over to Timeline JS and get a new sharing link.
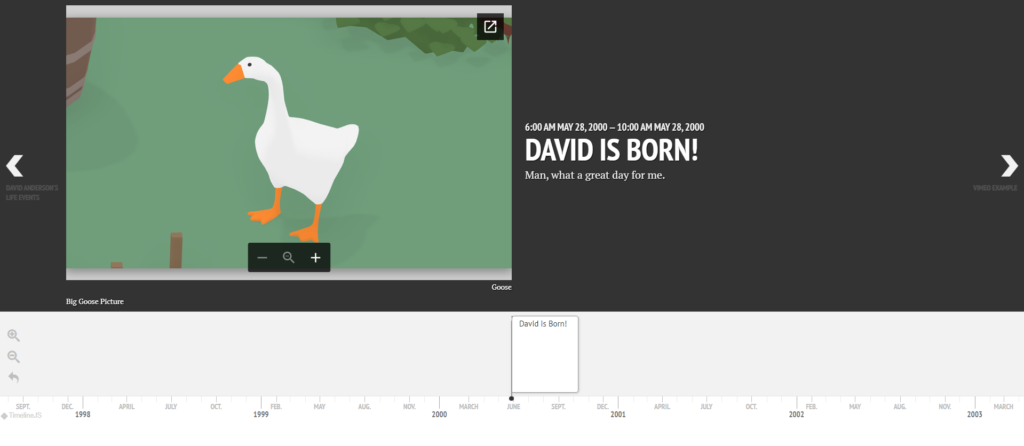
Here’s what my timeline event looks like!
If you don’t want to upload images from your own computer, I would recommend making an account on Flickr to find useful images complete with image credits.
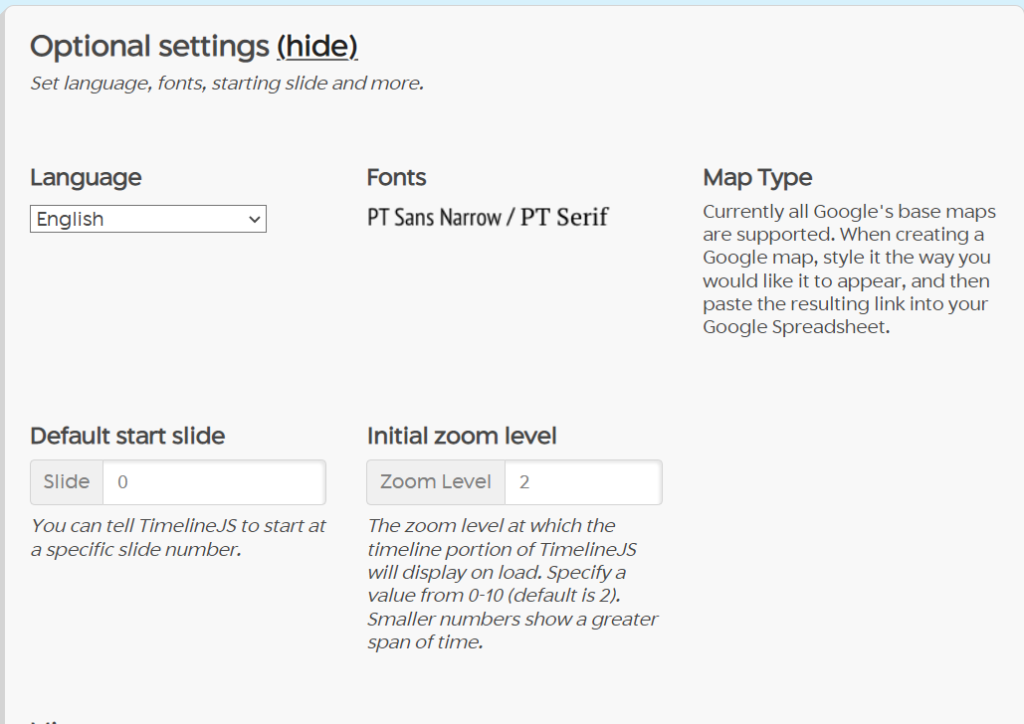
There are more options to edit your timeline in the “Advanced Options” sections as seen below.
There is also a video tutorial you can follow along with here if step by step tutorials aren’t your speed.
Happy Timelining!
Hi David, I enjoyed reading your tutorial! I think this is a really useful tool, and I definitely agree that it could be used for school projects! I also like this supports embedding the link of the output, which is easy to use in the websites, even though it sounds like a javascript library.
It’s really interesting how this is such a useful digital humanities tool and yet so simple to follow the directions. Great tutorial.
I actually went through the tutorial this time and it was very easy to follow the directions. The finished product really amazed me because I didn’t know you can make a visual timeline from raw data in a spreadsheet. Very useful data visualization tool.
You did a great job in this tutorial. It was extremely detailed, and the way you gave the instructions made it fun to follow. After reading this, I will definitely consider using this in my group’s final project.
Your tutorial is really helpful for our final project since we are considering adding a timeline of different clubs at Carleton. Using a spreadsheet to create such visualization works perfectly for us. Great tutorial but you forgot to add the tutorial tag.